


كل ما نحتاجه هو 2 DC Motors و L298N driver ولوحة Arduino وعصا التحكم للتحكم. بالنسبة لمصدر الطاقة ، اخترت استخدام ثلاث بطاريات Li-ion بقوة 3.7 فولت ، مما يوفر إجمالي 11 فولت. لقد صنعت الهيكل من الخشب الرقائقي بقياس 3 مم ، وربطت المحركات به باستخدام أقواس معدنية ، وعجلات متصلة بالمحركات وفي المقدمة عجلة دوارة.


PWM ، أو تعديل عرض النبضة هو تقنية تسمح لنا بضبط متوسط قيمة الجهد الذي يذهب إلى الجهاز الإلكتروني عن طريق تشغيل وإيقاف الطاقة بمعدل سريع. يعتمد متوسط الجهد على دورة العمل ، أو مقدار الوقت الذي تكون فيه الإشارة قيد التشغيل مقابل مقدار الوقت الذي تكون فيه الإشارة متوقفة عن التشغيل في فترة زمنية واحدة.

المكونات الاساسية :
- Arduino UNO

- H-Bridge Motor Driver L298N

- Gear Motor 2 Psc

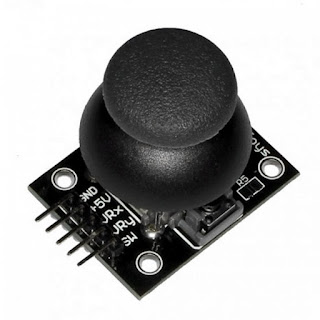
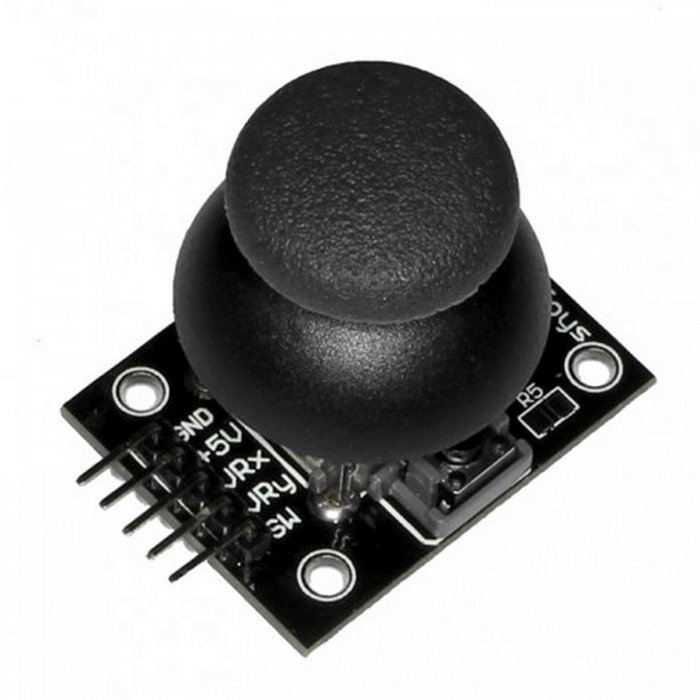
- joystick
- battery 7.4

- Jumper wires

++ مخطط الرسم البياني :

++ الكود البرمجي هنا :
#define enA 9
#define in1 4
#define in2 5
#define enB 10
#define in3 6
#define in4 7
int motorSpeedA = 0;
int motorSpeedB = 0;
void setup() {
pinMode(enA, OUTPUT);
pinMode(enB, OUTPUT);
pinMode(in1, OUTPUT);
pinMode(in2, OUTPUT);
pinMode(in3, OUTPUT);
pinMode(in4, OUTPUT);
}
void loop() {
int xAxis = analogRead(A0); // Read Joysticks X-axis
int yAxis = analogRead(A1); // Read Joysticks Y-axis
// Y-axis used for forward and backward control
if (yAxis < 470) {
// Set Motor A backward
digitalWrite(in1, HIGH);
digitalWrite(in2, LOW);
// Set Motor B backward
digitalWrite(in3, HIGH);
digitalWrite(in4, LOW);
// Convert the declining Y-axis readings for going backward from 470 to 0 into 0 to 255 value for the PWM signal for increasing the motor speed
motorSpeedA = map(yAxis, 470, 0, 0, 255);
motorSpeedB = map(yAxis, 470, 0, 0, 255);
}
else if (yAxis > 550) {
// Set Motor A forward
digitalWrite(in1, LOW);
digitalWrite(in2, HIGH);
// Set Motor B forward
digitalWrite(in3, LOW);
digitalWrite(in4, HIGH);
// Convert the increasing Y-axis readings for going forward from 550 to 1023 into 0 to 255 value for the PWM signal for increasing the motor speed
motorSpeedA = map(yAxis, 550, 1023, 0, 255);
motorSpeedB = map(yAxis, 550, 1023, 0, 255);
}
// If joystick stays in middle the motors are not moving
else {
motorSpeedA = 0;
motorSpeedB = 0;
}
// X-axis used for left and right control
if (xAxis < 470) {
// Convert the declining X-axis readings from 470 to 0 into increasing 0 to 255 value
int xMapped = map(xAxis, 470, 0, 0, 255);
// Move to left - decrease left motor speed, increase right motor speed
motorSpeedA = motorSpeedA - xMapped;
motorSpeedB = motorSpeedB + xMapped;
// Confine the range from 0 to 255
if (motorSpeedA < 0) {
motorSpeedA = 0;
}
if (motorSpeedB > 255) {
motorSpeedB = 255;
}
}
if (xAxis > 550) {
// Convert the increasing X-axis readings from 550 to 1023 into 0 to 255 value
int xMapped = map(xAxis, 550, 1023, 0, 255);
// Move right - decrease right motor speed, increase left motor speed
motorSpeedA = motorSpeedA + xMapped;
motorSpeedB = motorSpeedB - xMapped;
// Confine the range from 0 to 255
if (motorSpeedA > 255) {
motorSpeedA = 255;
}
if (motorSpeedB < 0) {
motorSpeedB = 0;
}
}
// Prevent buzzing at low speeds (Adjust according to your motors. My motors couldn't start moving if PWM value was below value of 70)
if (motorSpeedA < 70) {
motorSpeedA = 0;
}
if (motorSpeedB < 70) {
motorSpeedB = 0;
}
analogWrite(enA, motorSpeedA); // Send PWM signal to motor A
analogWrite(enB, motorSpeedB); // Send PWM signal to motor B
}
#electronicengineering #robots #led #o #arduinolove #stem #automation #digitalelectronics #engineer #electronicsprojects #projects #electronicsengineering #innovation #electronicslovers #robotic #raspberry #dprinting #sensors #artificialintelligence #science #embeddedsystems #tecnologia #pcbdesign #proteus #circuit #code #m #soldering #embedded #electronica


No comments:
Post a Comment